Art 184 - 3D Art + Design Studio 1
LED Lantern Project - Getting Started
Start With: Sketches, phone / LED measurements, ideas for cut-outs, handle, position of light source
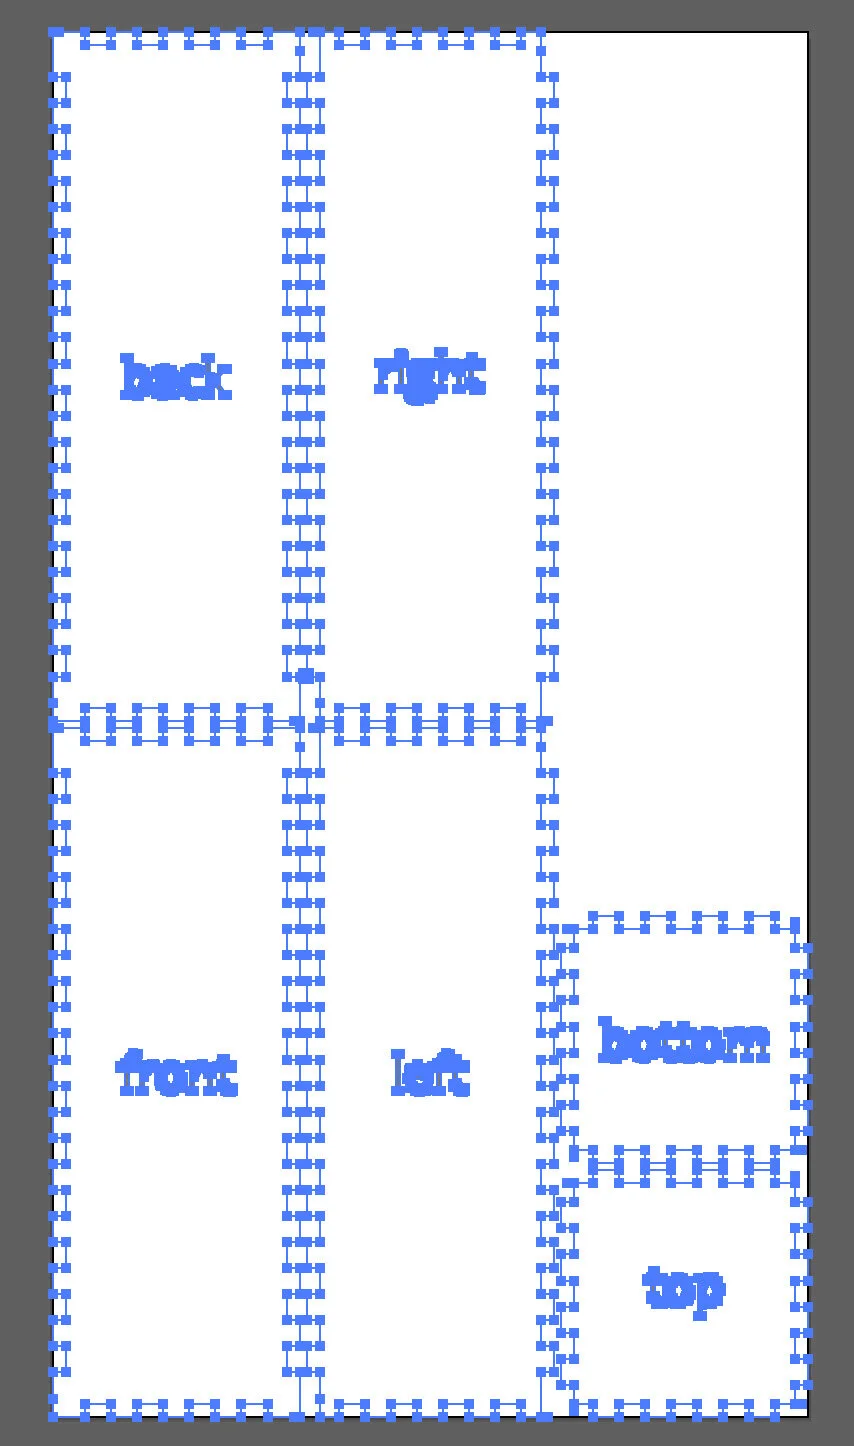
Box - Maker Template


Input YOUR measurements for height, width + depth. These should fit your phone, cut-out ideas and sketches (not just what I have entered).
Material Thickness = 1/4 inch + Edge Joints = Finger
Select “Download Box Plans” > Use Default Settings + Select “Download SVG”
If prompted, select “Save File”, then locate file and open in Illustrator.
Working in Illustrator


Once you open the SVG file in Illustrator, you will need to make a few edits:
File > Save As > Select “Adobe Illustrator (ai)” > make sure you know the name and location of new file
Select the box plans by clicking anywhere on the graphic. You will know it is selected when you are able to move the graphic around on the artboard.
Once Selected go to Object > Ungroup
You should now be able to move all the faces around independently
You can delete any labels (like “back” / “front”) by selecting them and pressing the “delete” key
Edit the artboard to the size of the laser bed - double click on the “Artboard” tool in the left hand tool bar. It is above the “Hand” tool.
Reposition the cut outs so they fit into this new artboard - leave a bit of space between the edges of the faces and the edge of the artboard.
Adjustments + Additions
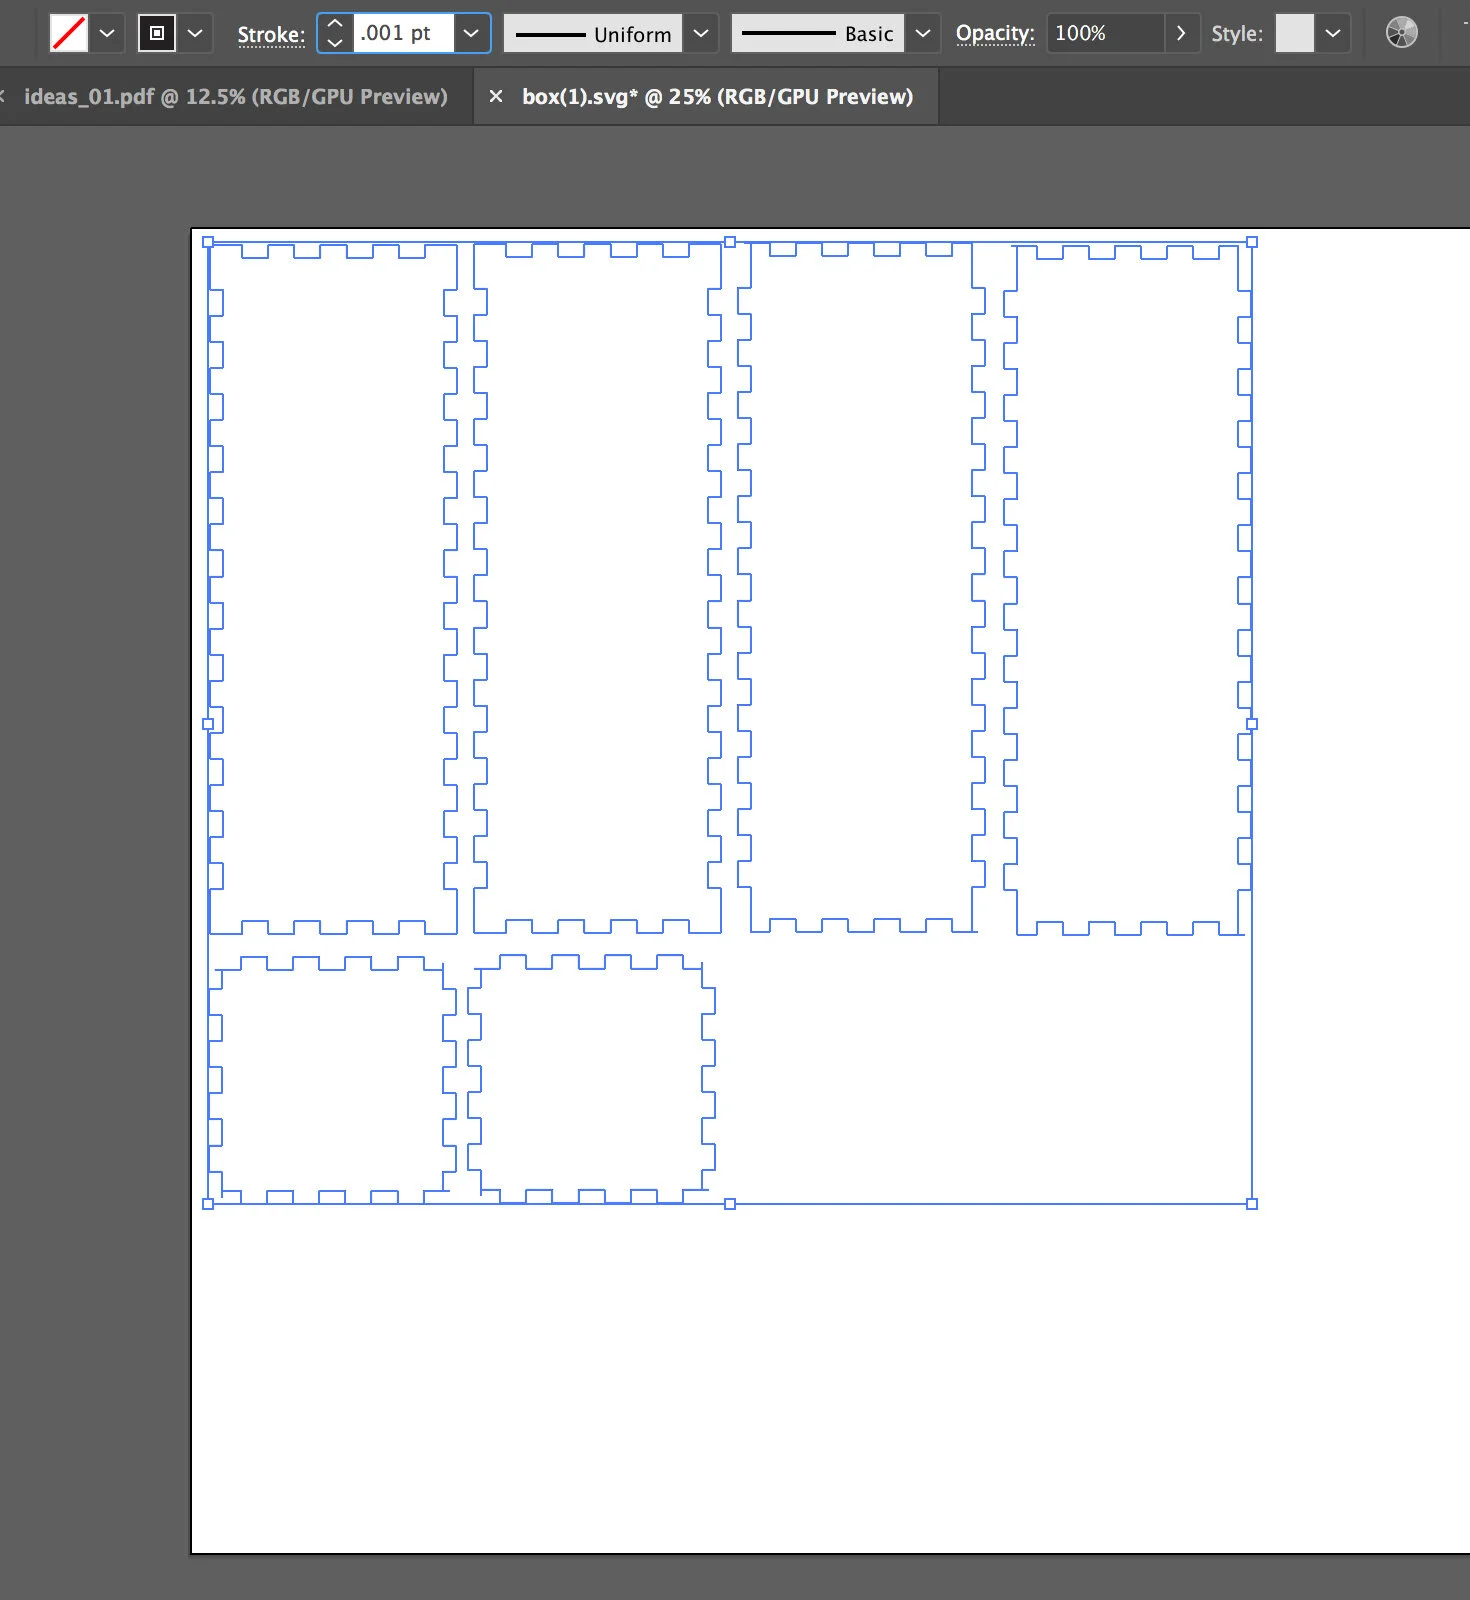


Make sure to select all faces that will be cut, turn the outline to black and set it to be .001 weight
You can use layers to make the addition of the cut-outs a bit easier. Go to Window > Layers to bring up the panel.
Make a new layer (the little “page” icon in the bottom right of the panel). You can put new artwork for cut-outs in this layer. If you lock the layer below, it will keep you from accidentally selecting the box cut-out graphics.
Just remember to unlock that layer in order to access graphics on it