ART 80F - MODULE 2 COMPOSITE IMAGE INSTRUCTIONS
COMPOSITE IMAGE PROJECT - INTRO

In this project, you will be working with images from your Instagram, FB, SnapChat or camera / photo app to create a composite image. A composite image is one that contains multiple layers of visual information, that are combined into a single field of vision. These images will be somewhat similar to the images Joy Buolamwini exhibited in her Gender Shades research.
First, look through your recent images for a few groupings of similar image compositions and subjects. The photos in each group set (at least 4 - 5) can be taken at different times and places, they just need to have the same general theme and layout - examples are shown below.


You will need 3 different sets for this project, and 1 set must be of selfies taken only of yourself. Working with Photoshop, you will use layers and blending modes to create a composite image for each set. After creating and submitting these composite images, you will use them to experiment with a few machine vision apps in section for another assignment.


1. Copy all of the photos you are using, and organize them into 3 folders, by set.

2. Start working with the selfie set of images - open each using Photoshop by going to File > Open. Once all of the images are opened in Photoshop, you can toggle through them via the tabs in the top of the menu bar (or with CMD + ~).

3. Create a new document that is roughly the same dimension and size as your photos. File > New … and set up the image properties in the box to the right.
If your photos are larger than 2000 pixels, use the image size process to resize them to 2000 pixels wide. Image > Image Size > enter 2000 pixels. Your new document should not be any larger than 2000 pixels wide (Unless you plan on printing these images for another purpose)


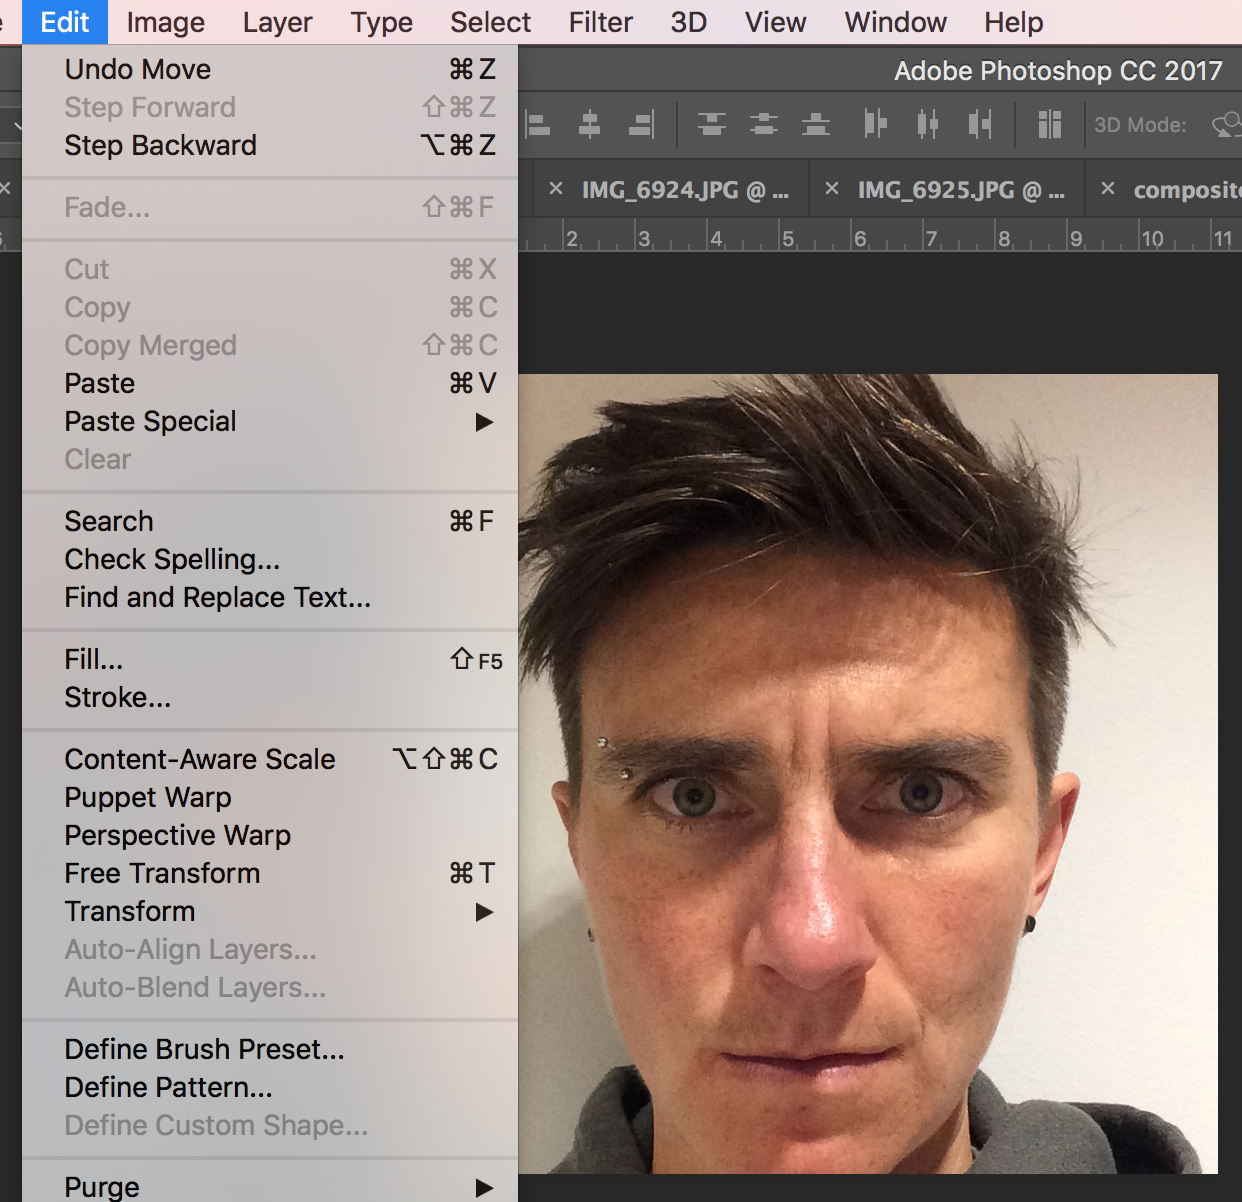
4. Copy and paste each image into your new document. Go to the image, then go to Select > All (CMD + A) in order to select all of the image. Edit > Copy (CMD + C), then go to your new document and Paste - Edit > Paste (CMD + V). After doing this one time, your copied image will be a new layer in your document. You can see this layer in the layers panel, which is usually docked to the right tool bar. If it is not there, go to Windows > Layers.
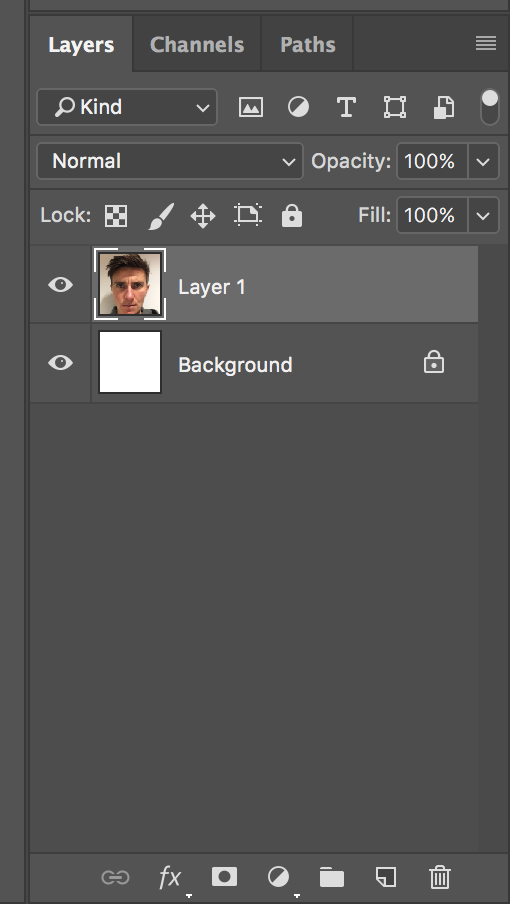
5. Repeat this step with each of your images, until each is a separate layer in your new document. You will only be able to see the layer that is on top, but you can check the layers panel to ensure that they are all there.
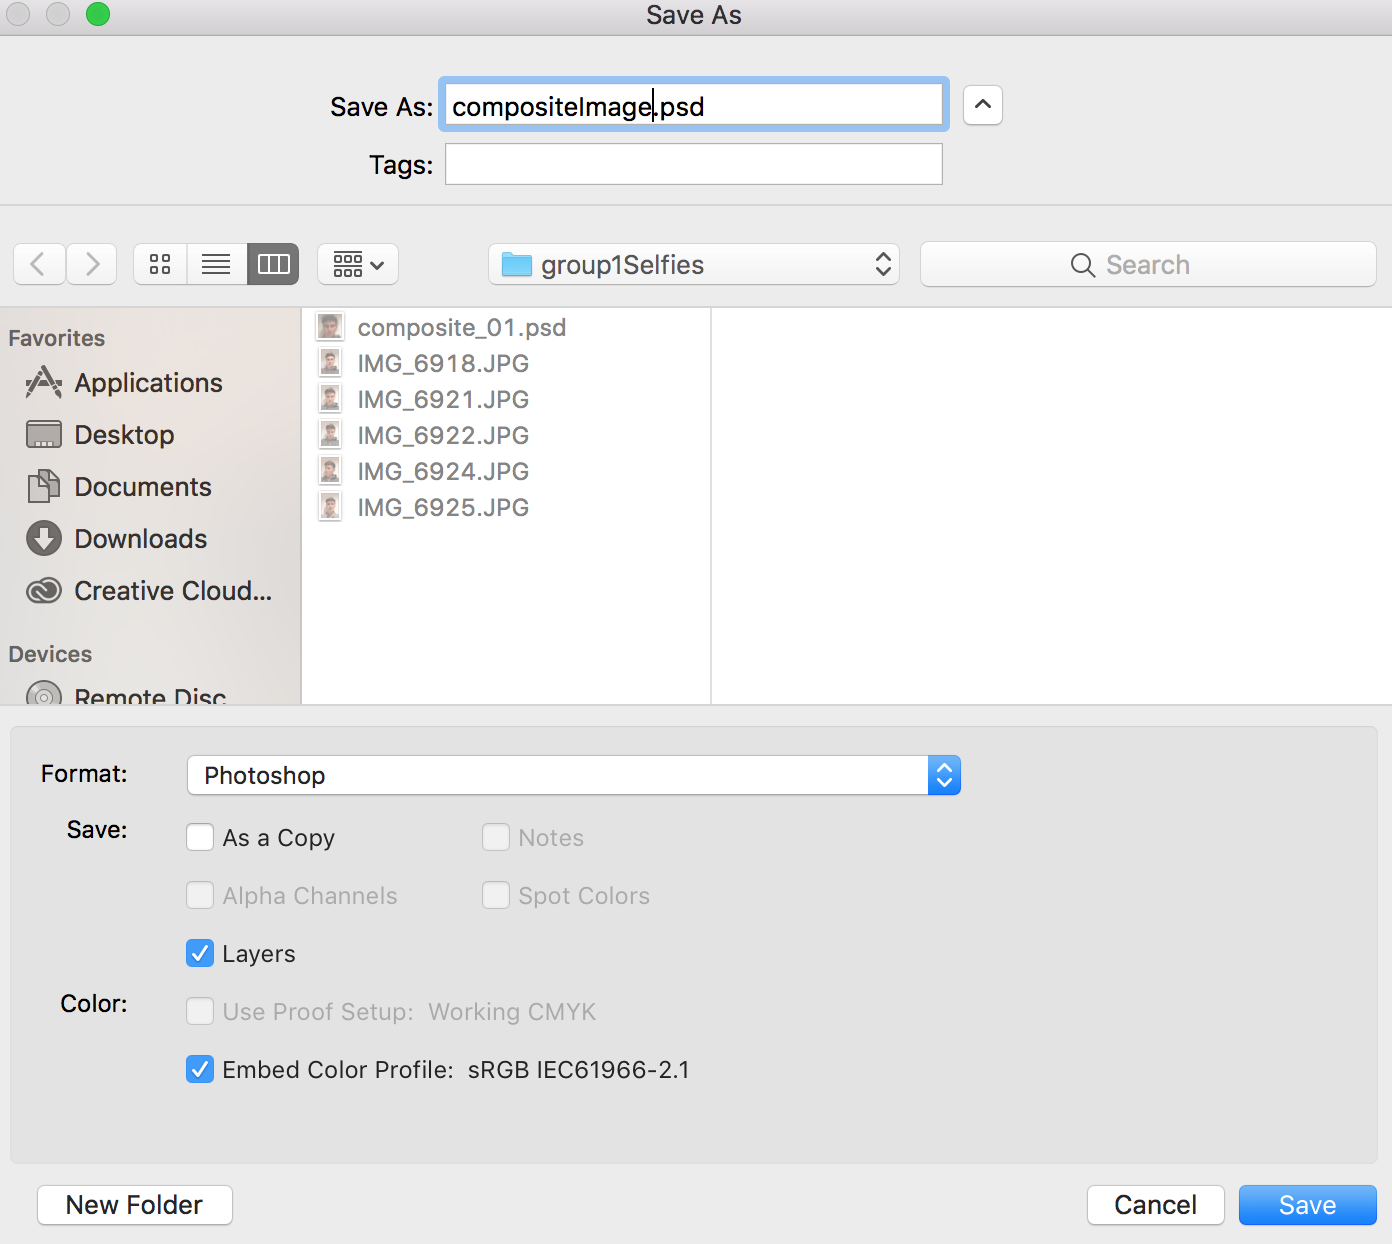
6. Save your file as a Photoshop File (.psd) Make sure that “Layers” is checked. (It should be, this is the default setting). Continue to save (CMD + S) as you are working on these projects.


7. If this is the first time you have worked with layers in Photoshop, there are a few things to know that will streamline your workflow.
Imagine layers like a stack of images on top of each other - if the top layer image is the same size or larger than the document size, all of the layers below will not be visible.
You can move layers with the arrow tool in the tool bar. Once you have chosen this tool, make sure that “Auto-select” in the top menu bar is unchecked. Now you can move whichever layer is also selected in the layers tab (including ones that are not visible, or under other layers).


When you apply adjustments, they will only affect the layer that is selected in the layers panel. If you use a selection tool such as the lasso, it will only select the pixels in the layer that is selected in the layers panel. You can apply the same effect to the same selection area to different layers.


You can create new layers and delete layers with the New Layer Icon and the Trash Icon in the layers panel. When you create a new layer, it does not contain any pixel information - think of it as transparent sheet that can be filled in with visual information using the brush tool or the fill tool.
To change the order of layers, you can drag and drop in the layers panel. The eye icon toggles on the visibility of layers. You can use CMD or Shift to select multiple layers in the panel - this will be very useful for this project.


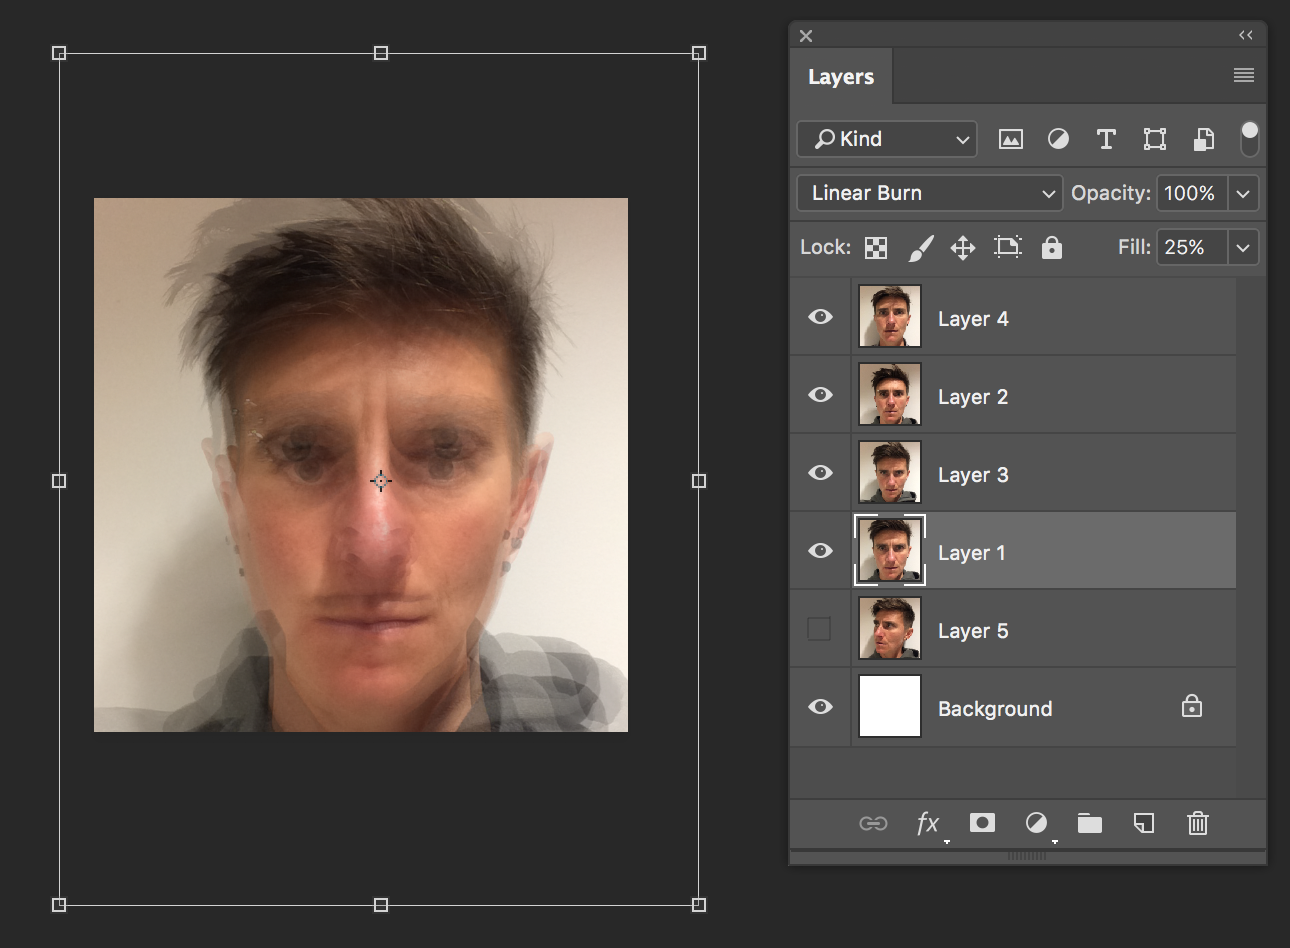
8. To create the composite effect and combine the images together, 2 layer properties will need to be adjusted for each layer. For this project, you will be adjusting the blending mode property, and the fill property.
9. Blending modes: Blending modes will change the way that pixels in one layer interact with pixels in another layer. Some of these modes work more with lightness and darkness, others work with the pixel color or channel values, and others produce effects based on mixing light or color that are looking at the pixel values in the entire image.
To change the layer’s blending mode, select the mode from the dropdown menu in the left of the panel (set to normal as the default). Multiply + Linear Burn are good places to start. Hard Light, Pin Light + Linear Light could also be interesting. To apply the same blending mode to multiple layers, select them all with shift or CMD, then change the blending mode.


10. Fill Level: Lowering the fill level will lower the saturation and color intensity that occurs with some blending modes when similar colors on different layers interact with one another. Fine tune this so that the definition of the separate images are more visible in the overall image.


11. Apply transformations to the layers in order to fine tune the size and position so that they create the most cohesive / recognizable composite image. Edit > Free Transform or CMD + T will allow you to resize or rotate the layer you have selected. Use the handles of the bounding box to resize or rotate - hold down shift to maintain the proportion of the original layer. Press enter to apply the changes, or ESC to revert.


12. Once you have completed your composite image make sure to save the Photoshop file, then Export As a JPG. You will need the .PSD files for a future assignment, so do not overwrite them with a JPG file or delete them (Photoshop files will save the layers so that you can continue to edit them in the future).
To export as a JPG with Photoshop CC Version go to File > Export As… and select the options shown in the screenshot below. If your .psd file is larger than 1200 pixels wide, reduce these JPG size to 1200 pixels. If you are working with Photoshop CS5 or CS6, go to File > Save for Web… and then select the options in the second screenshot. Make sure to select Save instead of just Done when working with this button.
Submit the JPGs only for this assignment.


